
Last updated September 10, 2026
Full 25-point door and opener safety check with every visit - springs, cables, rollers, tracks, and your LiftMaster or Chamberlain opener included
You get a price before we start. It does not change when the truck arrives.

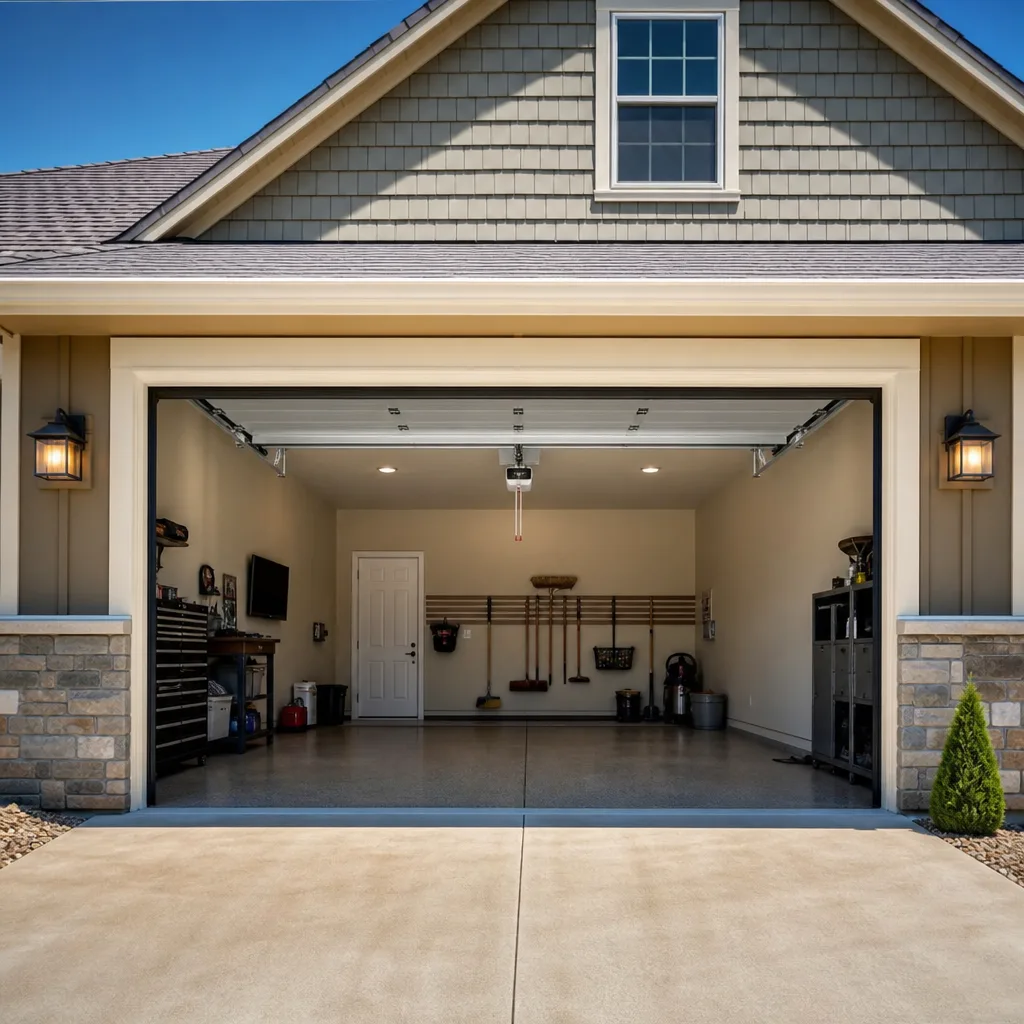
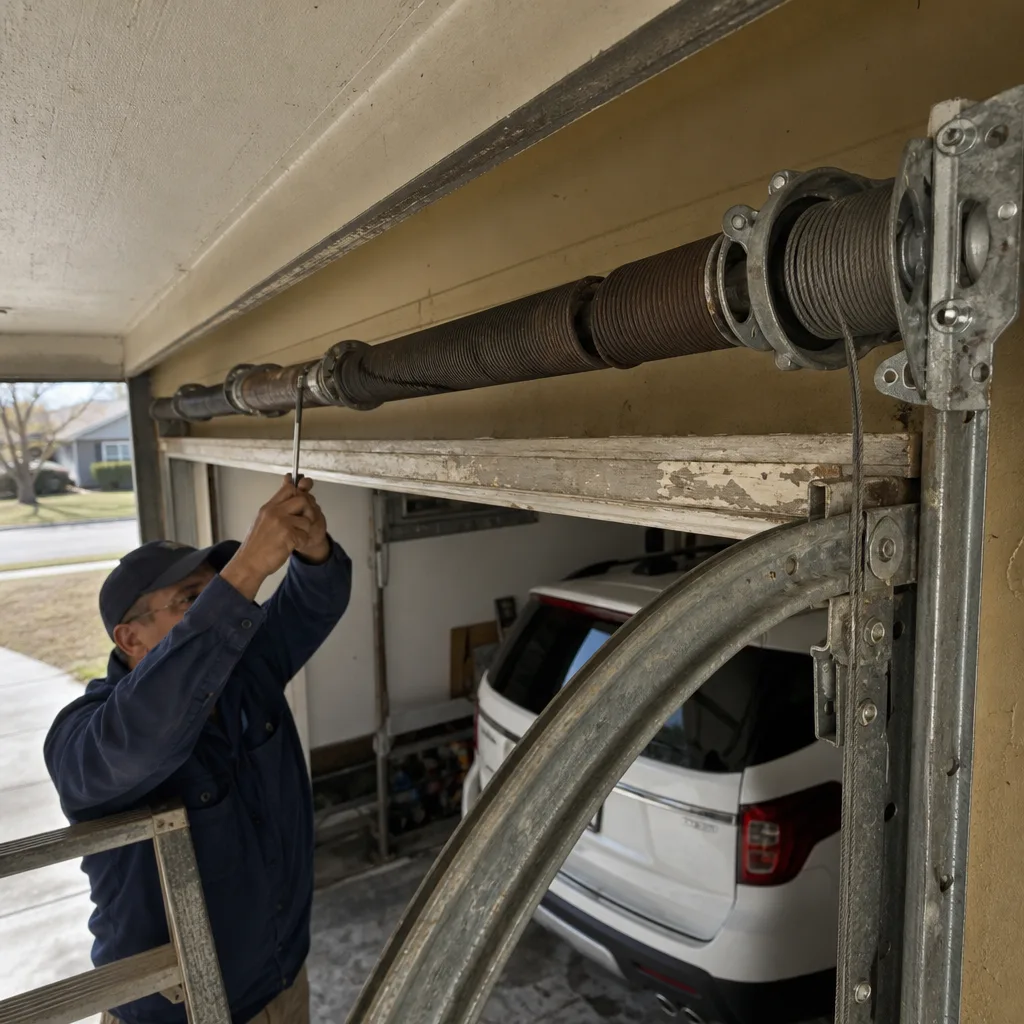 Before
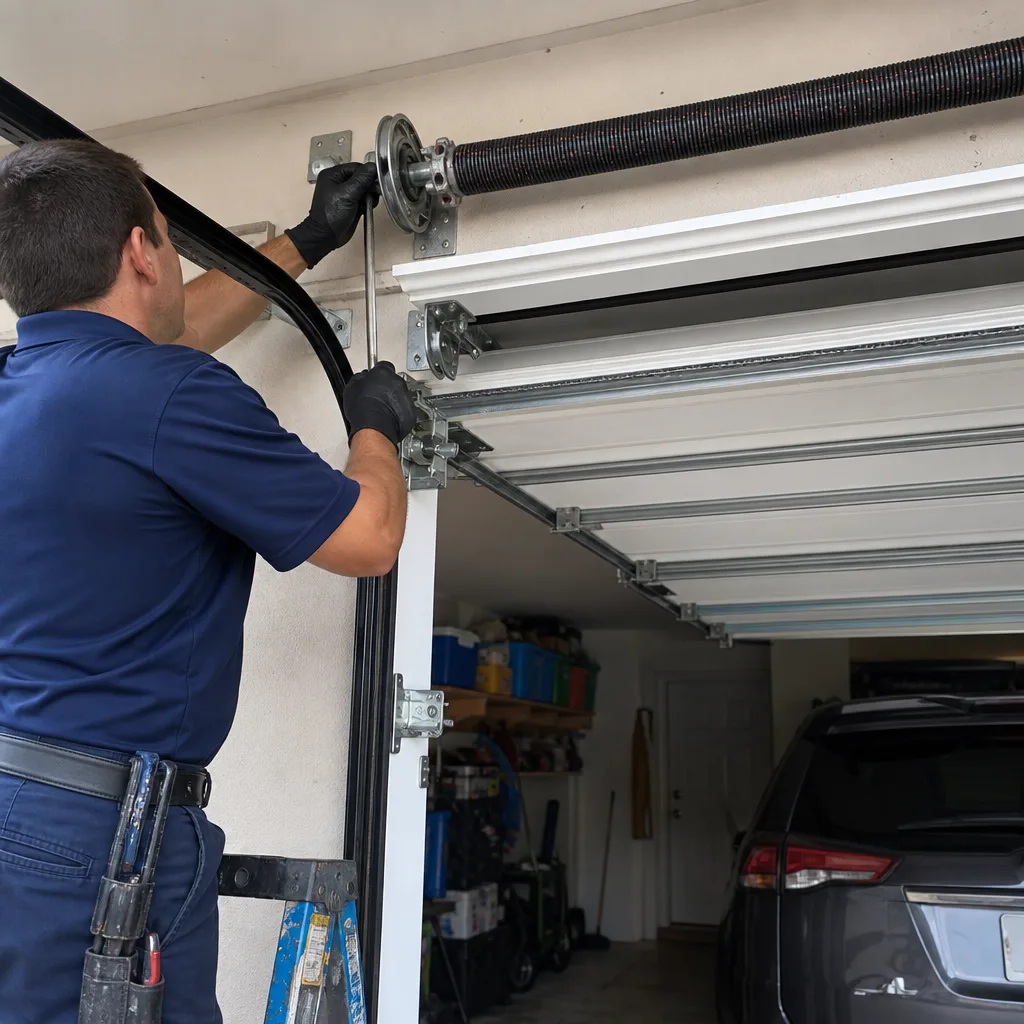 After
After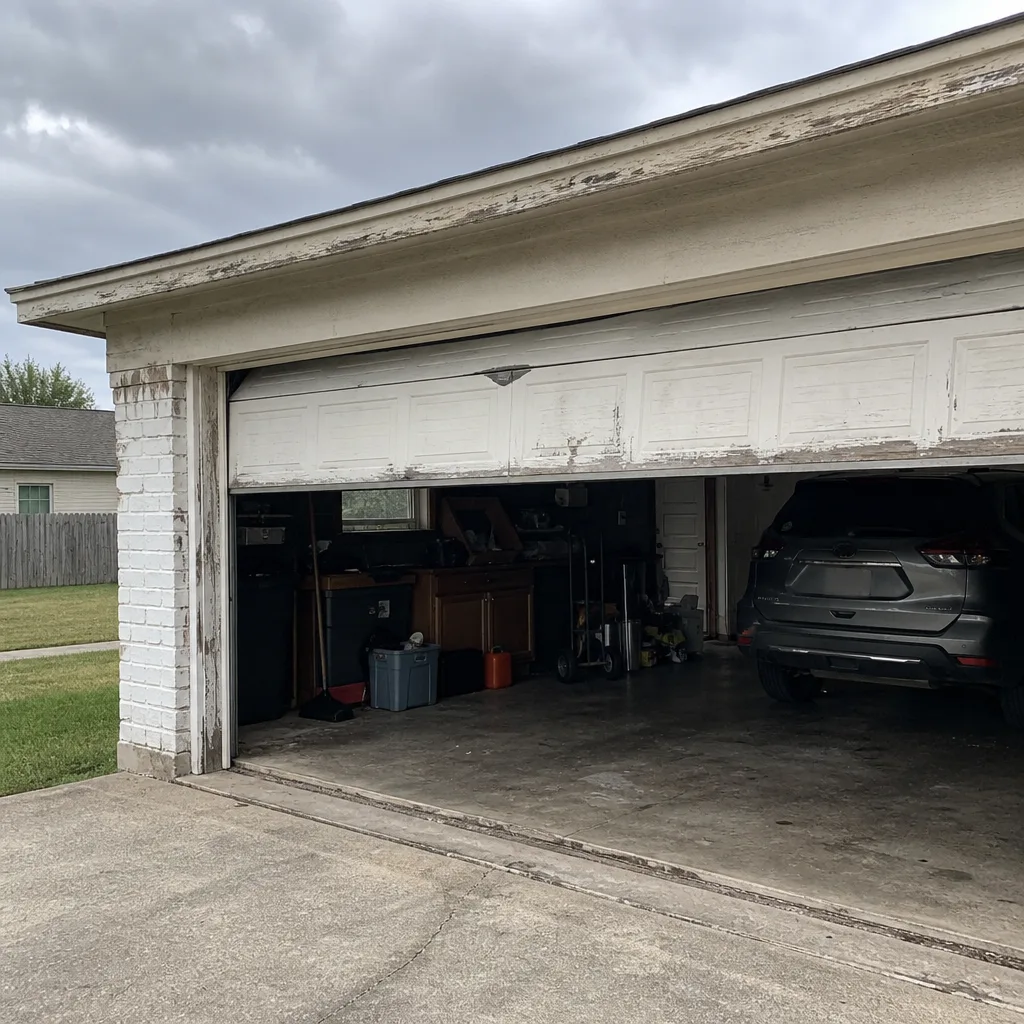 Before
 After
After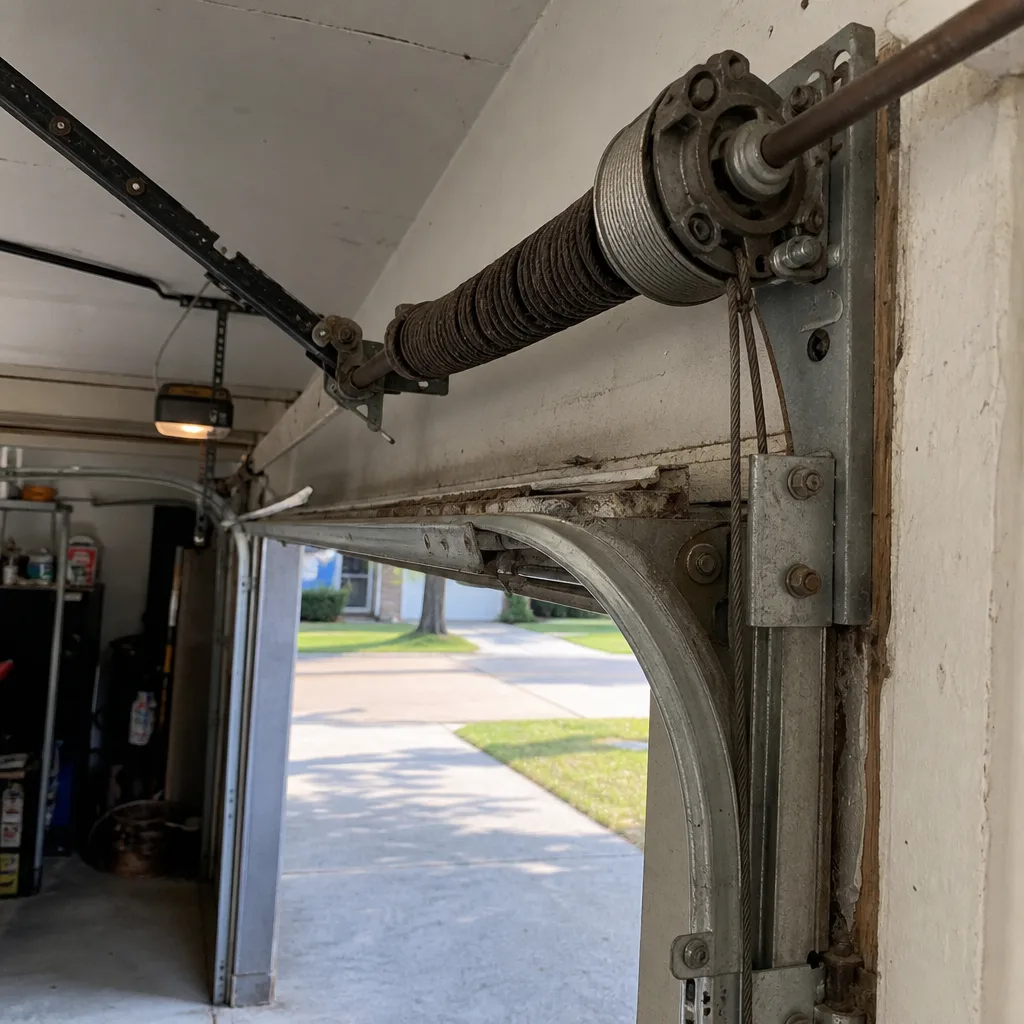 Before
 After
AfterGarage Door Repair Maintenance Checklist for Jersey Village Homeowners
The number one repair call we get in Jersey Village isn’t a broken spring or a dead opener. It’s a roller that dried out, cracked, and finally seized because somebody told the homeowner WD-40 was the right thing to spray on it. It isn’t. That one bad tip costs people a couple hundred dollars every single week in this town, and it’s completely preventable. This checklist is built from the failure patterns we’ve actually pulled out of doors across Jersey Village over the past twenty-plus years, organized so you can run through it in under thirty minutes twice a year. For more guides & resources, explore our blog. You won’t need special tools, you won’t need to climb anything, and you’ll catch the expensive stuff before it catches you.
Quick Answer
A proper garage door maintenance routine for Jersey Village takes about 30 minutes twice a year. You need to lubricate the rollers, hinges, and springs with a white lithium or silicone spray (never WD-40), test the door’s balance by hand, inspect the bottom seal for cracks and gaps, check all hardware for looseness, and listen for grinding or straining sounds. If the door won’t stay put when you lift it halfway, call a professional before the spring lets go completely.
Table of Contents
- The Lubrication Mistake That Costs Jersey Village Homeowners Real Money
- The Twice-Yearly Maintenance Checklist (30 Minutes, No Special Tools)
- How to Test Your Door’s Balance in 60 Seconds (And What It Tells You)
- Why the Bottom Seal Matters More in Jersey Village Than Anywhere Else
- Standing Water and Your Door: The Post-Flood Inspection
- Homeowner Task or Call Someone? The Honest Line-by-Line
- Common Mistakes to Avoid
- When to Call a Professional
- Frequently Asked Questions
- The Bottom Line
The Lubrication Mistake That Costs Jersey Village Homeowners Real Money
Here’s the thing about garage door hardware: it’s metal moving against metal under tension, sometimes for ten or fifteen cycles a day. That’s over five thousand cycles a year on a door that gets normal use. Every one of those cycles creates friction at the rollers, the hinges, the bearing plates, and the spring coils. Friction means heat. Heat means wear. Lubrication is how you keep that wear from turning into a snapped part, but only if you’re using something that actually lubricates.
WD-40 is a solvent with a little light oil in it. It’s designed to break up rust and displace moisture, which it does fine. What it won’t do is stay on a garage door roller or hinge for more than a few days. It evaporates, and worse, it strips away whatever lubricant was already there. So the homeowner sprays WD-40, the door sounds better for about a week, and then the roller is running drier than it was before. A few months of that and the nylon bushings inside the roller start to crack. Once they crack, the roller doesn’t spin, it skids. A skidding roller grinds a flat spot into the track, and now you’re not replacing a ten-dollar roller, you’re replacing track sections.
Cooking spray is even worse. It leaves a sticky residue that collects dust, dirt, and grass clippings from the Jersey Village humidity. That gunk builds up inside the track until the roller can’t move freely, and the opener starts straining against resistance it was never designed for.
What actually works is a white lithium grease spray for the metal-on-metal contact points: hinges, bearing plates, and the torsion spring coils. For the rollers, you want a silicone-based spray because it penetrates the nylon bushing without breaking it down. We’ve pulled rollers out of doors in Jersey Village that were so dry they crumbled in our hands, and in almost every case the homeowner said they’d been “lubricating it regularly” with the wrong product. Spend twelve dollars on the right can and you’ll avoid a two-hundred-dollar repair.
If you want the full breakdown of what we check on a service call, our Garage Door Repair in Jersey Village page walks through it part by part.
The Twice-Yearly Maintenance Checklist (30 Minutes, No Special Tools)
Run this list once in the spring and once in the fall. Jersey Village heat accelerates rubber breakdown, and spring storms bring the humidity that rusts hardware. Two passes a year keeps you ahead of both. Here’s the full routine, in order:
- Close the door and unplug the opener. You’re working on a door that weighs anywhere from 150 to 300 pounds. Don’t put your hands anywhere near moving parts, and don’t skip this step. The opener is a machine. Machines can start unexpectedly.
- Wipe the tracks clean. Use a dry rag to remove dust, spider webs, and grit from the inside of both vertical tracks. Do not grease the tracks. Grease in the track attracts dirt and makes the rollers skid. The tracks should be dry and clean, period.
- Inspect the rollers. Look at every roller, top and bottom, both sides. The nylon outer ring should be smooth and round, not cracked, chipped, or flattened on one side. If you see a crack, replace that roller now. It’s a ten-dollar part and a fifteen-minute job for someone who knows what they’re doing.
- Lubricate the rollers and hinges. Silicone spray on the roller bushing where the wheel meets the stem. White lithium grease on the hinge pivot points. One short burst per part. Wipe off the excess with a rag.
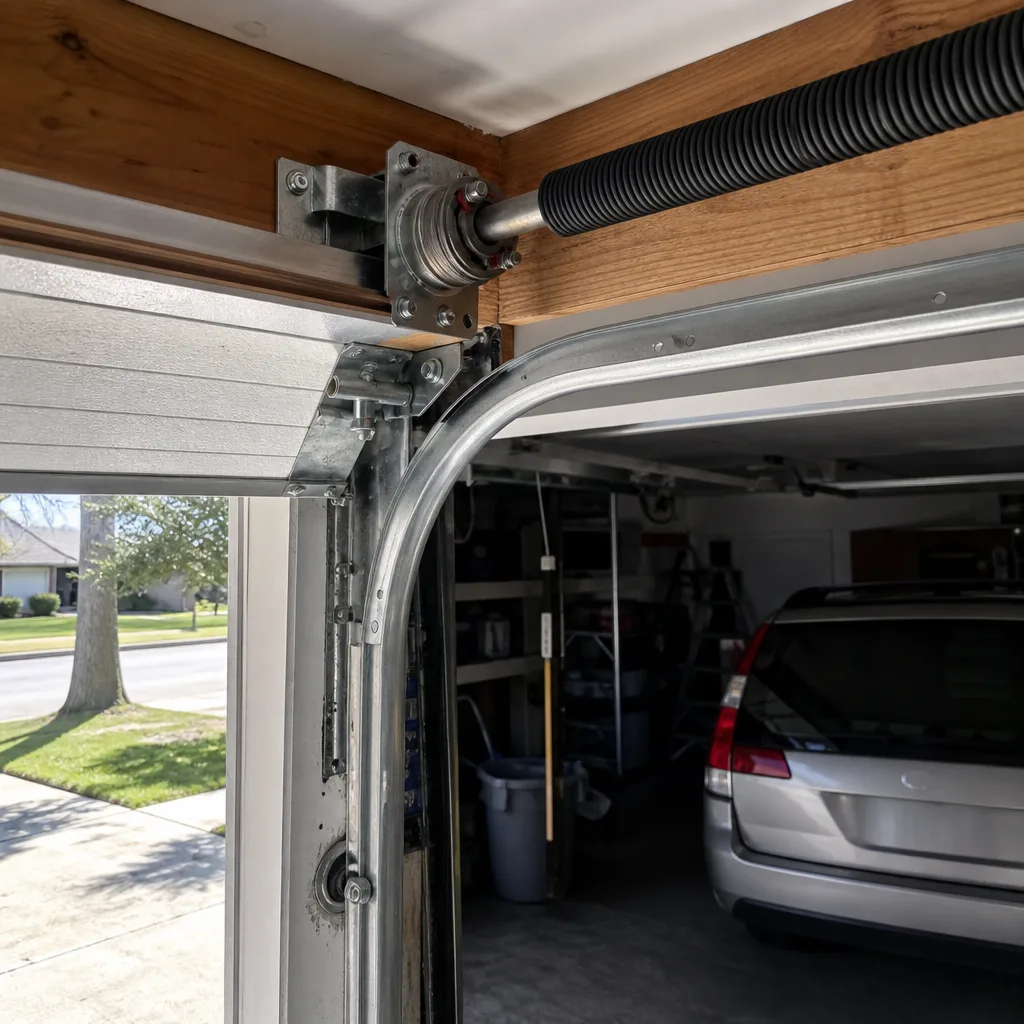
- Lubricate the torsion spring. You’ll find it above the door, running horizontally. Spray white lithium grease along the full length of the coil while the door is closed. The spring needs to flex, and dry coils grind against each other. If you see rust or gaps between the coils, skip the lubricant and make a phone call. That spring is close to the end.
- Tighten the hardware. Grab a socket wrench and check every bolt and nut you can see: the hinges, the track brackets, the bearing plates on either end of the spring bar, and the bolts holding the opener rail to the ceiling. Jersey Village soil shifts, and vibration from ten thousand door cycles loosens hardware that was tight when it was installed.
- Check the bottom seal. Run your hand along the rubber strip at the bottom of the door, looking for cracks, gaps, or spots where it’s pulling away from the aluminum retainer. More on why this matters below.
- Test the safety sensors. With the door open, press the wall button and stick a rolled-up towel or a shoe in the path of the safety beam. The door should reverse immediately. If it doesn’t, that’s a call-to-a-pro item, same day.
- Run the balance test. Pull the red emergency release cord and lift the door manually to the halfway point. Detailed instructions in the next section.
- Plug the opener back in and run a full open-and-close cycle. Listen. A healthy door sounds like a soft hum with an occasional click. Grinding, squealing, popping, or a rhythmic thunk-thunk-thunk means something is wrong.
For more on keeping the mechanical side of things healthy, our Garage Door Opener in Jersey Village guide covers the opener side of this equation.
How to Test Your Door’s Balance in 60 Seconds (And What It Tells You)
The balance test is the single most useful diagnostic a homeowner can run, because it tells you the honest condition of your springs. A door that’s properly balanced should stay put at the halfway point when you let go of it. Not drift up. Not drop down. Hover there like it’s weightless.
Here’s the sixty-second version:
- Close the door completely.
- Pull the red emergency release cord. This disconnects the door from the opener carriage. The cord hangs down from the center rail.
- Lift the door by hand until it’s at about waist height, roughly the halfway point of its travel.
- Let go and watch what happens.
If the door stays in place: your spring tension is roughly where it should be. The spring is doing its job, carrying the door’s weight so the opener only has to nudge it. Reconnect the door by pressing the wall button or pulling the release cord toward the door, then run it once to re-engage the carriage.
If the door drops toward the floor: the spring is under-tensioned, weak, or starting to fail. The door is heavier than the spring can counter, which means the opener is working harder on every cycle, and the spring is eating itself up faster. You can still use the door for a while, but you’re building toward a failure. A spring that’s this far gone doesn’t usually last another season.
If the door shoots upward: the spring is over-tensioned, which is less common but more dangerous. An over-tensioned spring is storing more energy than the design rating. When that spring fails, it fails violently. Don’t run the door again until a professional has adjusted it.
We count spring cycles the way you count tire miles. A standard torsion spring is rated for about ten thousand cycles, and a fifteen-year-old Jersey Village door has typically used most of them. If your door fails the balance test in either direction, that’s the spring telling you it’s done. Calling before the failure costs less than calling after, and the repair is a same-day job for someone who carries springs on the truck. Our Otto’s Garage Door home page spells out how we handle spring work, including the 90-Day Done Right Promise in writing on every job.
Why the Bottom Seal Matters More in Jersey Village Than Anywhere Else
Jersey Village sits in a flood-prone pocket of Harris County. We get the same Gulf humidity as the rest of Houston, plus the drainage patterns that put standing water in garages after a hard rain. The rubber strip on the bottom of your door, the part most people never think about, is the only thing standing between that water and everything you store on the garage floor.
The seal does three jobs. It keeps rainwater and flood runoff from seeping under the door. It keeps leaves, dirt, and the occasional displaced snake from the bayou areas from crawling in. And it holds your climate-controlled air inside the garage, which matters in August when the sun is beating on the door panels and the slab is radiating heat.
In Jersey Village’s climate, the rubber compound breaks down faster than it does in drier places. UV exposure hardens it, the Houston heat bakes it, and the humidity keeps it damp enough to rot from the inside. A seal that was pliable when installed five years ago is often brittle, cracked, or shrunken by year four. When it fails, the first thing you’ll notice is light bleeding under the door. Then you’ll notice water. Then you’ll notice the odd smell of mold starting in the corner where the water collected.
Replacing a bottom seal is a homeowner-friendly job if the old one slides out of its retainer cleanly, but if the retainer itself is rusted or bent, let someone with a truck full of seal profiles handle it. The seal stock at the big-box store doesn’t fit every door, and a seal that’s too thin or too thick does none of the three jobs it’s supposed to do.
For new doors and full replacement setups, see Garage Door Installation in Jersey Village for what we recommend in this specific climate.
Standing Water and Your Door: The Post-Flood Inspection
When water sits around a garage door, even for a day, it finds its way into places that were never built for moisture. Jersey Village gets enough of this that we’ve developed a specific post-flood inspection routine, and it’s worth running through after every heavy rain or drainage backup.
Here’s what to check, in order:
- The bottom brackets. The brackets holding the cables to the bottom corners of the door sit closest to the water. They rust first. If the rust is surface-level, clean it and watch it. If the metal is flaking or the cable shows rust streaks, that cable is compromised. A cable failure drops the door hard, and a dropping door is a two-hundred-pound hazard.
- The lower panels. Water wicks up into steel door panels from the bottom edge, and once moisture gets inside the panel insulation, it doesn’t dry out. You’ll see rust bleed through the paint, or the panel will feel heavier than it should. Wood doors fare worse: look for swelling, warping, or soft spots near the bottom edge.
- The track bolts at the floor level. Hardware sitting in water loosens as the rust eats the threads. Grab a wrench and check the bolts holding the vertical track to the wall, especially the lower two on each side.
- The weatherstripping along the sides. The jamb seal, the rubber strip that runs down both sides of the opening, also takes a beating when water sits. If it’s pulling away from the frame or feels crunchy to the touch, replace it. A gap there invites the same problems the bottom seal prevents.
- Standing water inside the garage. If the floor is wet, everything above it is pulling moisture. Run a fan, keep the door open during dry hours, and check the bottom seal for damage. If water got in, it got in because the seal failed or the door bottom isn’t seated flat against the slab.
Homeowner Task or Call Someone? The Honest Line-by-Line
Most guides tell you to have a professional inspect everything twice a year, which is a nice way to sell service calls. Here’s what’s genuinely safe for a homeowner to do, and what isn’t, with the actual reason why:
Homeowner Tasks (Safe, Do It Yourself)
- Cleaning the tracks: No danger. Wipe them out, don’t lubricate them. A dry track is a happy track.
- Lubricating rollers and hinges: Safe as long as the door stays down and the opener is unplugged. Your hands never go near the spring.
- Tightening the nuts and bolts you can reach: Rails, hinges, brackets, opener rail. All safe with a socket wrench.
- Testing the balance: Safe if you follow the red-cord procedure. You’re lifting the door manually, which is exactly what it’s designed to do.
- Inspecting the bottom seal: Visual inspection is always safe. If it’s cracked, replacement is a judgment call: if the retainer is aluminum and the seal slides out easily, go for it. If the retainer is rusted or the seal is glued in place, call.
- Testing the safety sensors: Safe. Block the beam, watch for the reverse. If it doesn’t reverse, that’s a same-day fix from someone with parts.
Call Someone (The Real Reason)
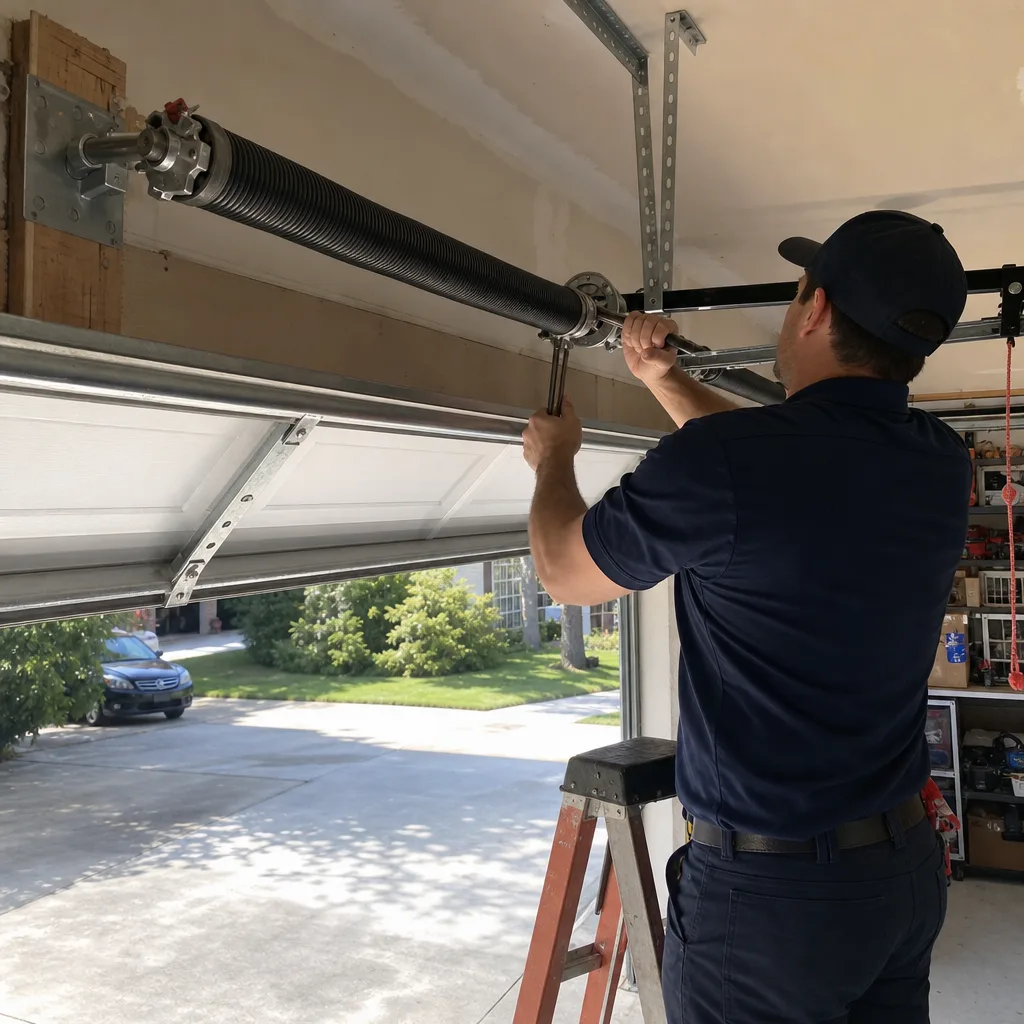
- Torsion spring adjustment or replacement: This is not “liability cover” language. A torsion spring stores enough energy to break bone. It’s mounted on a steel bar above your head with all that energy coiled into it, and the tool for adjusting it is a metal rod that will whip out of your hands if you lose control. This is the one repair where the danger is immediate and irreversible.
- Cable replacement: The cables run through the same tension system as the springs. If a cable snaps during a DIY fix, the door comes down whatever way it wants to. Let someone with the right clamps and the right order of operations do it.
- Track alignment or replacement: Getting tracks perfectly parallel and plumb requires a level of precision most people don’t have the patience for, and a misaligned track will eat rollers within months. It also usually involves loosening bolts that hold the track to the wall while the door is under tension, which puts you right back in the danger zone.
- Opener motor or circuit board repairs: This is where the liability meets the practical. Opener internals are proprietary, the parts come from the manufacturer, and a wrong diagnosis means you’ve bought a replacement board that won’t fix the problem. Chamberlain, Genie, and LiftMaster all have quirks. It takes someone who works on them weekly to know which quirk is which.
- Anything involving the spring bar or the bearing plates: If your visual inspection shows cracks, rust-through, or a gap in the spring coils, stop looking and start calling. A spring with a visible defect is a spring on borrowed time.
Common Mistakes to Avoid
- Using WD-40 as a lubricant. It’s a solvent, not a lubricant. It strips whatever oil is on the part and leaves it drier than before. We see the results of this advice regularly all over Jersey Village.
- Greasing the tracks. Tracks are meant to run dry. Grease in the track collects dust and transforms into grinding paste that wears the rollers flat.
- Ignoring the balance test until the door won’t open. A door that drops when you release it is telling you the spring is fading. Most people wait until the spring snaps on a Monday morning with the car in the garage. Listen to the door before it’s an emergency.
- Forcing the opener when the door is misaligned. If the door is binding and you keep pressing the button, the opener keeps pulling against the problem. That’s how you burn out a motor on top of whatever the original issue was.
- Replacing only one spring on a two-spring door. The springs are designed to work as a matched set. Replacing one leaves the other at the end of its life, which puts the new spring under uneven load. Replace both or replace none.
- Skipping the bottom seal because “it’s just cosmetic.” This is the single most overlooked part in Jersey Village specifically, where the flood risk makes that seal the difference between a dry garage and water damage.
- DIY spring work after watching a video. The video doesn’t show the part where the winding bar slips and the spring releases. The damage to your hands, your face, and your door is real. We say this every time we see a homeowner with a new set of winding bars: respect what those parts can do.
When to Call a Professional
Call a professional the same day if your door fails the balance test, if you see a visible gap or rust on the torsion spring, if the safety sensors don’t reverse the door, or if you hear metal-on-metal grinding when the door moves. Our Garage Door Repair services can handle these urgent issues. Call within the week if your bottom seal is cracked through, if your rollers are chipped or flattened, or if your opener is visibly straining. Waiting on any of these turns a hundred-dollar fix into a five-hundred-dollar repair, and sometimes into a door that won’t open at all when you need it. Otto’s Garage Door offers free estimates in Jersey Village, and the person who answers the phone is the person who shows up. Call (346) 489-6145 and we’ll tell you honestly what needs doing, right on that first call.
Frequently Asked Questions
Twice a year is the right cadence for Jersey Village. Once in the spring, before the heat and humidity set in, and once in the fall, before the cooler damp weather. The climate here accelerates rubber breakdown and rust formation, so an annual schedule that works in drier climates will let problems develop here. The full routine takes about thirty minutes.
Use white lithium grease spray on the metal hinge pivot points, the bearing plates, and the torsion spring coils, and use a silicone-based spray on the rollers where they ride against the track. Never use WD-40, which strips lubricant, and never use cooking spray, which leaves a sticky residue that collects dirt. The right products cost about twelve dollars total and last for years.
Yes, and you should. Pull the red emergency release cord, lift the door to the halfway point, and let go. A healthy door stays put. If it drops or rises on its own, the spring tension is wrong and the spring is nearing the end of its life. That’s your early warning before it fails on a workday morning.
Standard torsion springs are rated for roughly ten thousand cycles, which translates to seven to ten years of normal use for a typical Jersey Village household. Heavy-use doors, or doors that get opened and closed multiple times a day, wear through that faster. The balance test is the best way to track where your springs are in their cycle count.
Musty garage smells after rain usually mean water is getting in somewhere and pooling where it can’t dry. The most likely culprit is a cracked or shrunken bottom seal, but it could also be failing side weatherstripping or water wicking up into the door panels themselves. Check the seal after the next rain. If it’s letting water through, replace it before the problem moves from the floor to the drywall.
Estimates are free, and there’s no trip charge inside our home county. The price quoted on the phone is the price on the invoice, and we hold that number when we arrive. If you’ve got another written estimate, we’ll give you a free second opinion on it. Call (346) 489-6145 for a quote.
The Bottom Line
The garage door on a Jersey Village home gets opened and closed thousands of times a year, in heat, humidity, and occasionally standing water. It’s the largest moving object in your house, and it’s holding itself up on two springs that are actively wearing out with every cycle. Thirty minutes of maintenance twice a year, using the right lubricant and paying attention to the balance test, will catch almost every expensive failure before it happens. The parts that genuinely need a professional are the parts where a mistake has real consequences: springs, cables, and anything tension-related. For everything else, this checklist keeps you ahead. If you find something that doesn’t look right, or you want a second set of eyes on it, we’ve been fixing doors in Jersey Village since 2004, and we’ll be here when you call. You can also check our Garage Door Warning Signs: A Jersey Village Homeowner’s Reference Guide to spot problems early.
Written by Otto Reinhardt, Owner at Otto’s Garage Door, serving Jersey Village since 2004.